*** Please note: Working with lithium batteries can potentially be hazardous. Damaging the battery can potentially cause fire or explosion. Learn and understand the risks before performing such a repair. *** I had to replace the battery in my Radiacode 101 as it was becoming potentially dangerous. I noticed the main button on the Radiacode wasn't pressing in properly and was sticking at times, so I popped the unit open and found the battery had expanded and was putting pressure on the circuit board, and thus making the button tight. The battery hadn't expanded like other LiPo's I have had,
-
-
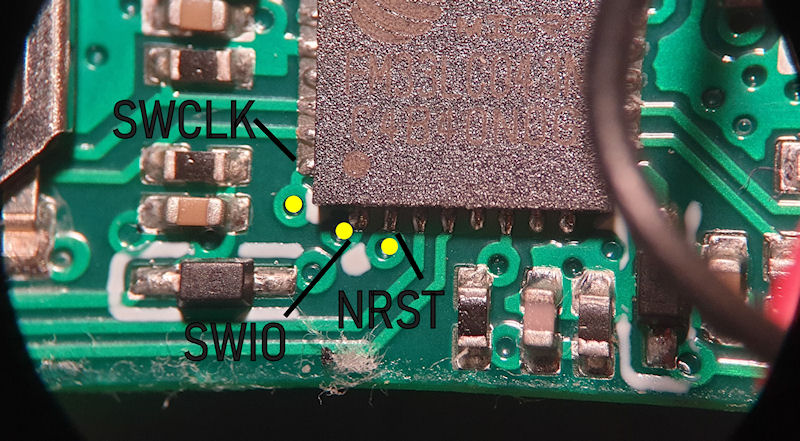
I was asked by Gissio to try and download the original firmware from my HFS-P3, so I tried. Alas, no joy so far. ☹️ Under the battery (stuck down with sticky tape) is a pin header. Probably designed to have a pogo pin connector connect to it as there is no room to solder on an actual pin header. I just soldered wires to it directly. I managed to work out the pins by tracing the circuit, but I had to use my microscope as the connections on the MCU really are that small! I took photos of both sides and flipped one then overlaied one over the other so I could line up the vias on the board. You
-
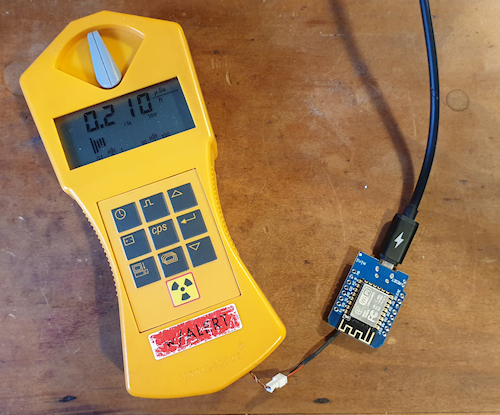
A member (of radmon.org) asked me if the Gamma Scout would/could work with radmon.org using the USB and software the counter came with. The answer to that is a simple, no, not out of the box, but it could be done with a quick hack. Simply add a couple of wires and connect them straight to an ESP8266 or similar MCU. This guide only covers the 'Alert' model. There may be differences with other Gamma Scout models. Here is how: Open up the Gamma Scout and locate the small transistor at the top left of the board, right above the pin header. There we are going to solder on a wire to the middle pin
-
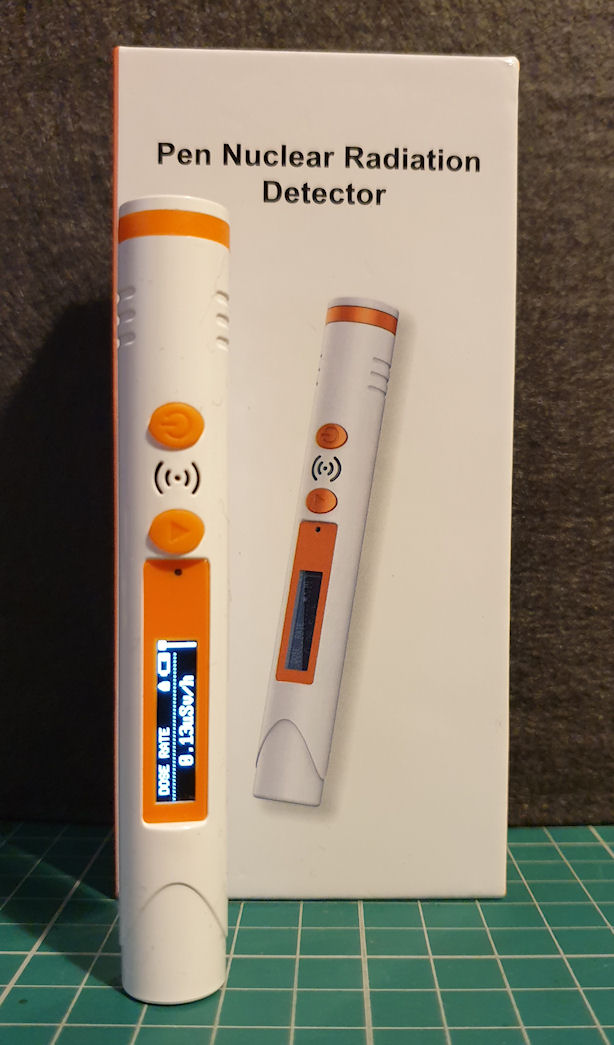
I have seen these kicking around the usual suspects (Ebay, Amazon, Aliexpress etc.) for a little while now and after watching (a not very informative YouTube video) I decided to get one and see just what it is and is it any good. TLDR; You get what you pay for. I paid about £32 for this from Aliexpress.com but have seen them for as little as £25 on Aliexpress.com and as high as £60 on Ebay and Amazon. The unit is very small and packs a tiny 150mAh LiPo cell, 48mm x 7mm (external dimensions) HH614 GM Tube, tiny OLED screen, a massive overkill ARM Cortex-M0 FM33LC043N MCU from Fudan Micro and
-
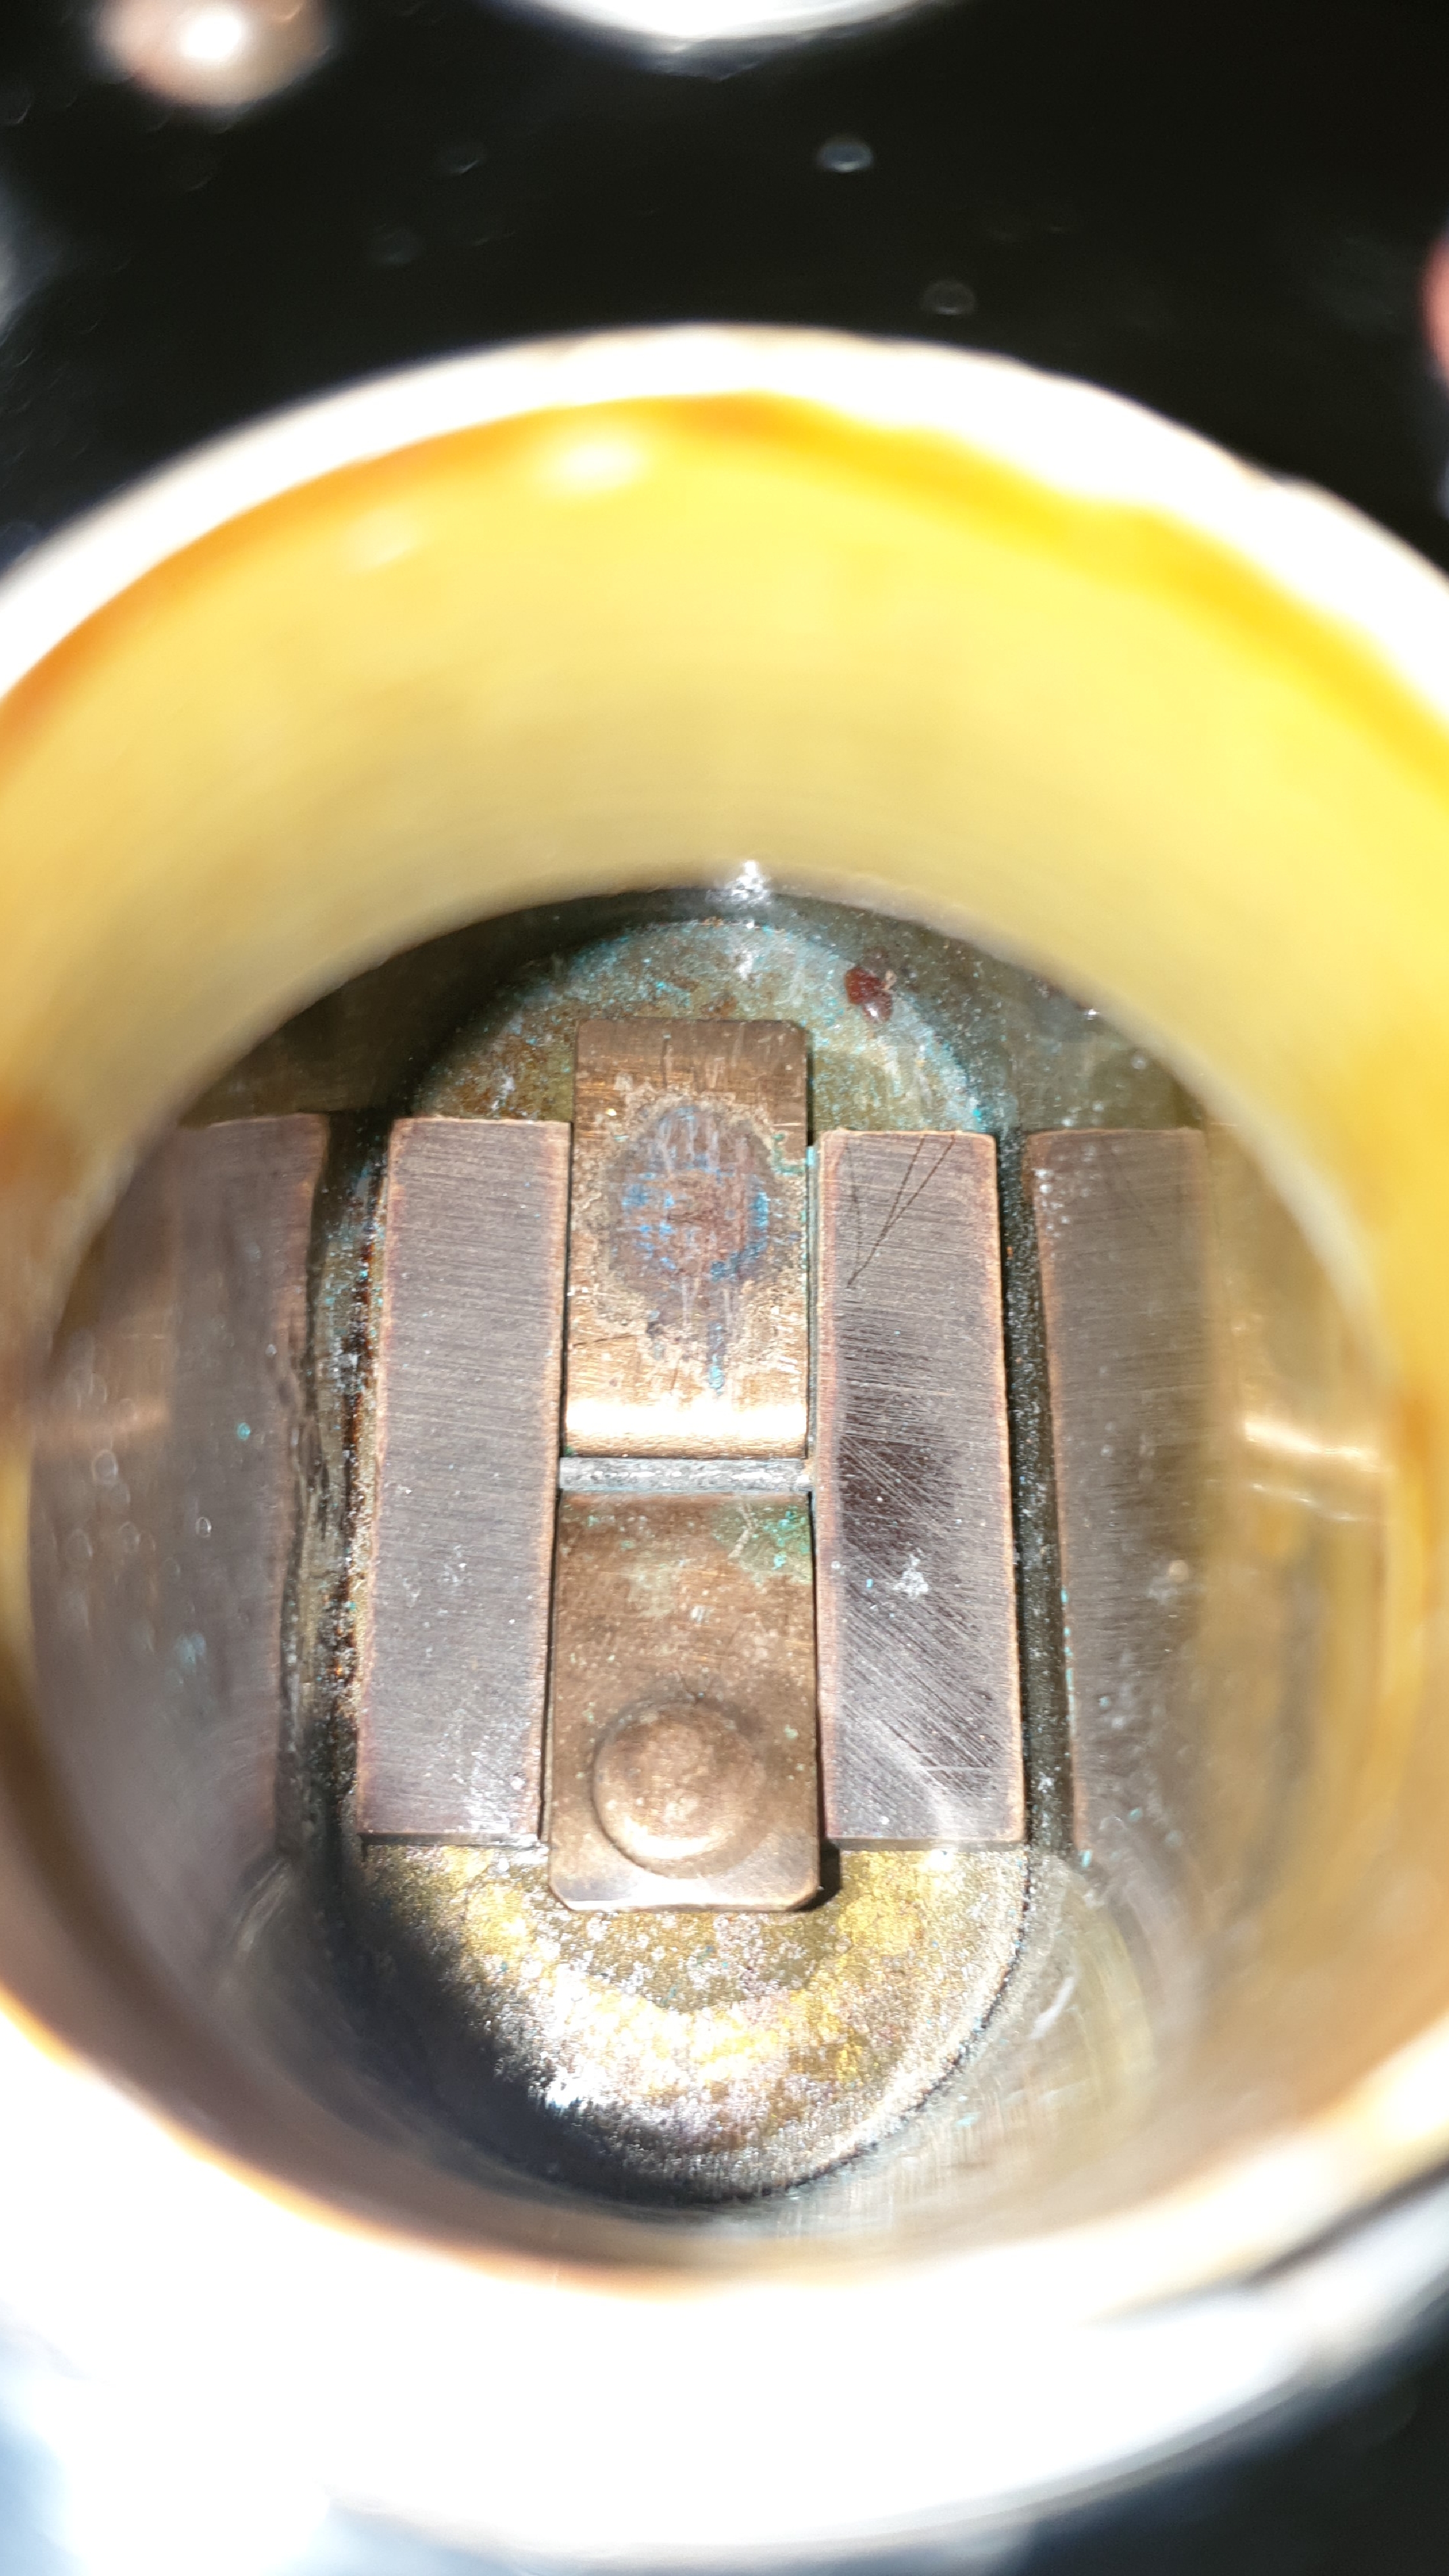
Following on from Pt.1 - Here are some pictures of the battery compartment. You can see the terminals at the bottom pivot in the middle like a seesaw, also with one battery inserted and then with two. I couldn't resist and took out the tube to have a look at it. It is rather large, pictured below next to a STS-5 tube (SBM-20 equivalent.) ↑ Seesaw battery terminals with pivot at the center. ↑ ↑ One battery inserted. ↑ ↑ Two batteries inserted. The cap has a large shaft that pushes down on the positive terminal, the battery is pressed down making the seesaw terminal push the other battery up.
-
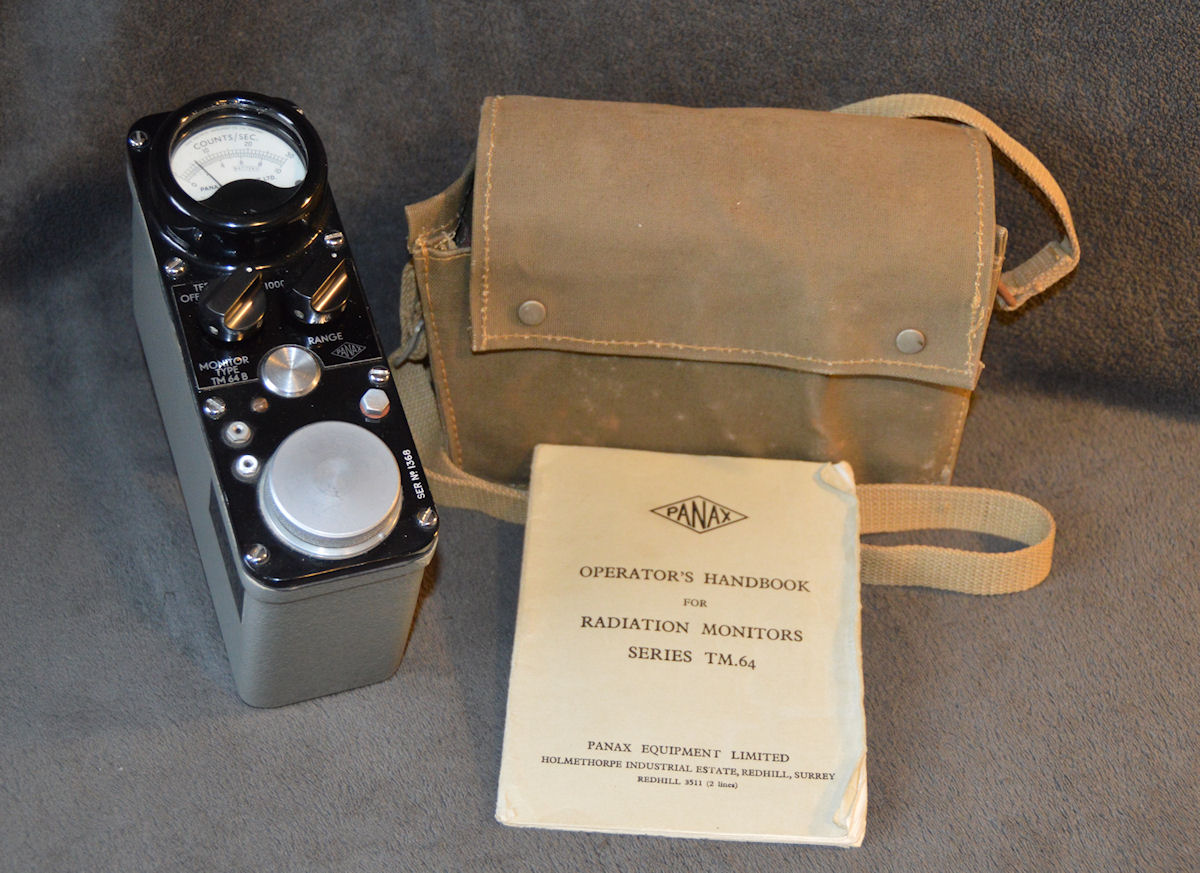
This is one of my latest Geiger counters and it is in fantastic condition. To say this is probably more than 60 years old, it has really faired well. It wasn't working when I got it as one of the battery terminals had some corrosion to it. After a quick but very awkward clean up of the terminal it came to life. What really attracted me to this, besides it's condition, is the fact the meter is in CPS (counts per second.) I thought it unusual for a small counter of this era to be in CPS. Being CPS would mean it would be sensitive, which it is, fairly so. The unit is complete as far as I can
-
- Posted on
- Featured Image
I have translated the manual with the help of a couple of internet AI translators. Attached below you will find a couple of PDFs of the original Russian manual and an English translation of the manual, also the text of the manual in .txt format. The PDFs quality isn't great as the images weren't great but they work. The text version is probably easier to read. A couple of things about operation that I was puzzled about were the mains/missing psu and missing battery. From reading the manual I'm assuming that this was in fact a "Lux" flashlight (battery/rechargeable) and that this company made -
I have managed to power this up and it does work! 😊 I have also started reverse engineering it a little. I removed the two (brass?) strips and replaced them with wires so I can flatten the board out properly. The two strips were connecting the ground and VCC on the boards together. I haven't yet translated the manual, but I will in due time as I can't find a single thing about this counter on the internet at all and the info may be of use to others' too. In all it seems like a very basic counter with a quirky display. If I knew what the ICs actually were I could maybe replicate this on a
-
I found this on ebay priced at £12.52 delivered and couldn't resist at that price so I bought one for shits and giggles! Probably the most bizarre counter I have bought yet. (Apologies for the camera focus - new camera, very complicated... 😯 ) I haven't powered it on yet as I have no idea what battery it should be, if it should be a battery at all. It has US mains plug pins on one end but there is nothing wired to it, nor is there a battery cover. The only way to put a battery in is to disassemble the unit, which is rather cumbersome. It looks to be a flashlight made into a counter, but comes
-
Something I really dislike is planned obsolescence, and closely 2nd to that, where things are not user serviceable and have to be returned to the manufacturer for minor things such as battery replacement. I'm a large advocate of 'right to repair'. The battery in the Gamma Scout is a 10 year, 3.6v Lithium battery soldered directly onto the board. Gamma Scout (at last check some time ago) wanted 40 Euro plus shipping one way to Germany to replace the battery. Pfft! The original battery is about £20 all in for a replacement, but I decided to go another route and modify the Gamma Scout to take a