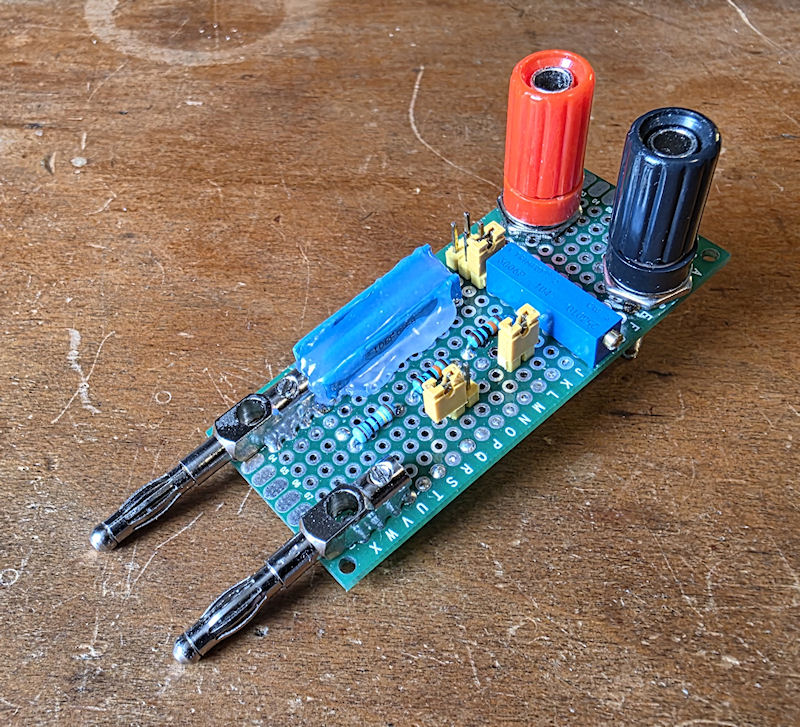
I recently got a new multimeter that has a slightly higher burden than the meter I was previously using. This meant that the original voltage divider I made wouldn't calibrate to my new meter. The solution was to increase the resistance of R2 in the divider. On the v1 divider R2 was made up of a 1MΩ and a 100KΩ trimmer pot in series. To increase the R2 in the v2 divider I added a couple of 100KΩ resistors in series with the 100KΩ trimmer pot. R2 became 1MΩ + 100KΩ + 100KΩ + 100KΩ (pot) all in series. I added two jumpers alongside the two new 100KΩ resistors so I can put them in circuit or
-
-
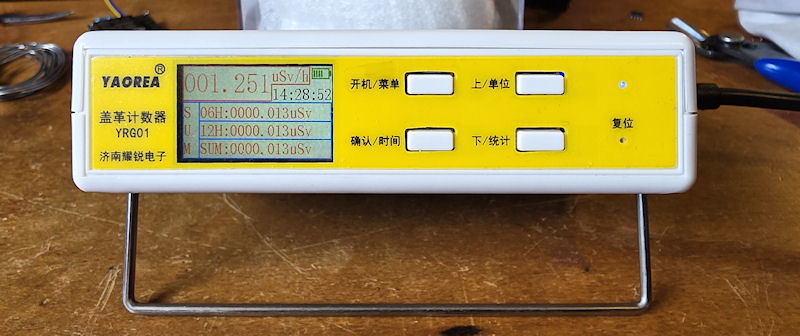
I have a few of these little counters on hand and decided to mod a few. One I have at my office sat on my desk, and another two I'll be sending out in the wild. My original intention was to mod a bunch of them and sell them to potential radmon.org users as a 'works right out of the box' counter submitting to radmon.org. I changed my mind after realizing they take a lot longer to actually mod than I initially thought (because I'm doing a much better job on these than the first), and that recently a version of ESPGeiger firmware was released with a bug that made them unable to update
-
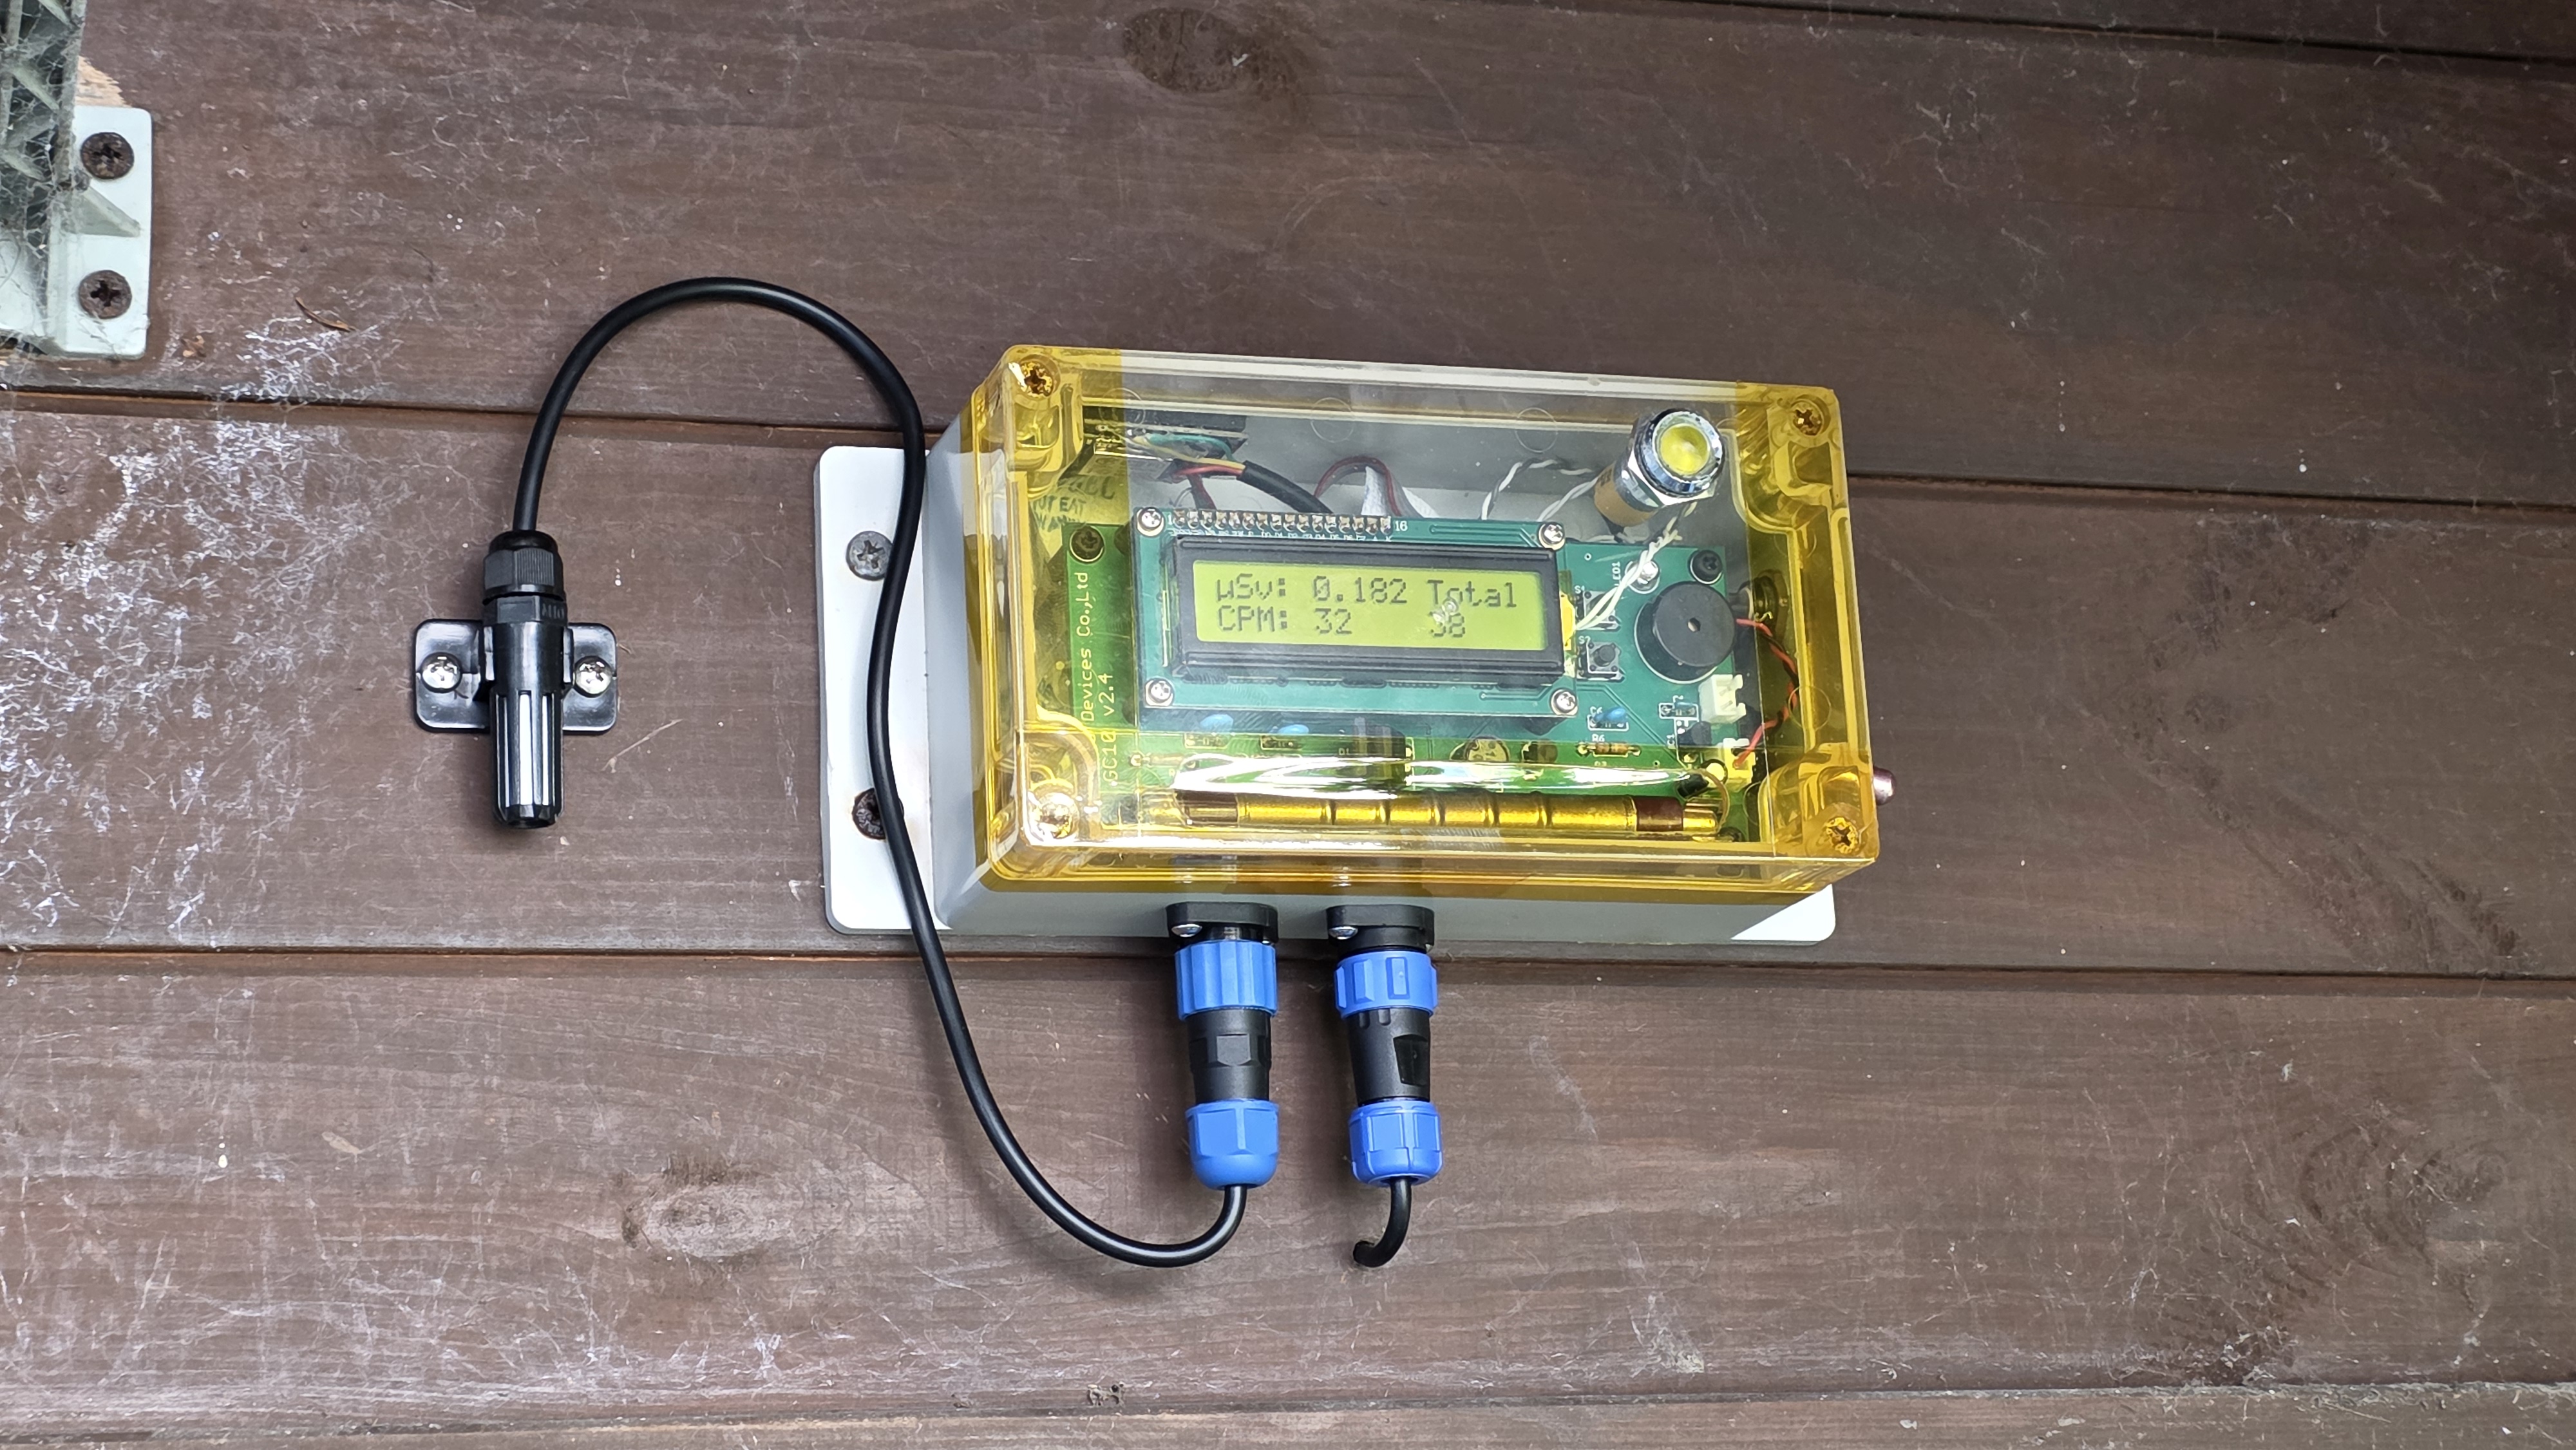
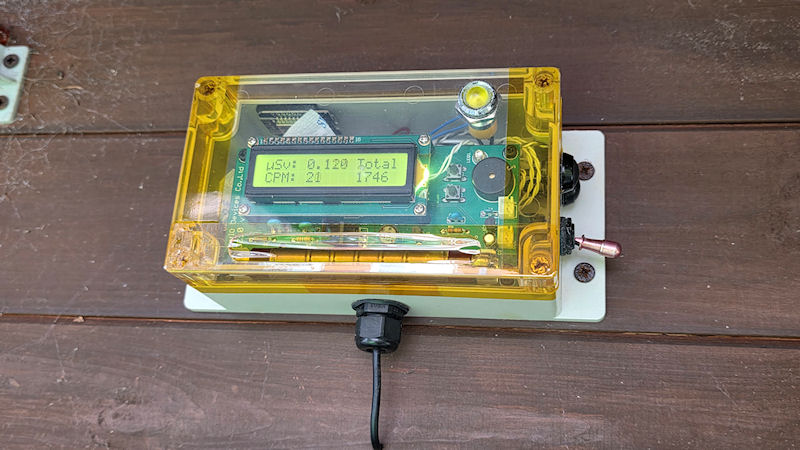
On 24/11/2024 Radspod One went offline. It had been just doing it's job for 8 years non-stop, with the odd break, usually PC/server related. This is the very first counter I got online years back when I only had half a clue. 😂 On the 24th the server eventually died. Capacitors had gone bad on the mainboard and around the time I just couldn't be bothered repairing a machine that should have been recycled a long time ago. So it got left. I eventually got fed up of seeing it blinking away outside and doing nothing more, so it was time to give it a good service and a full bill of health. It was
-
If you have ever used Radlog Pro from radmon.org, you will know that the only way to get the counts into it is via serial. This is generally fine if your counter sits near the PC Radlog Pro is running on, but if not it can be a challenge. Simply making a long serial cable works providing you can route the cable. The other method is wirelessly. I used to use a wireless TTL serial transmitter and receiver. It worked for the most part, but the signal was always an issue. Even receiving the signal in direct line of sight, through glass was a challenge for these little units. After servicing my
-
Modifying my GK Radmon kit Geiger counter to run ESPGeiger firmware has gained a little interest in it. John (BroHogan) the creator of the GK Radmon and other kit counters caught wind of this and appears very happy for me to be slicing and dicing his work - all in the good spirit of things, and Steadramon, the writer of the ESPGeiger firmware is looking if he can make a drop-in version of his ESPGeiger firmware that can be loaded onto the GK Radmon (and probably GK Radmon Plus too) without the need to modify the counter itself. That would be very cool. It has also spurred on an ESPGeiger
-
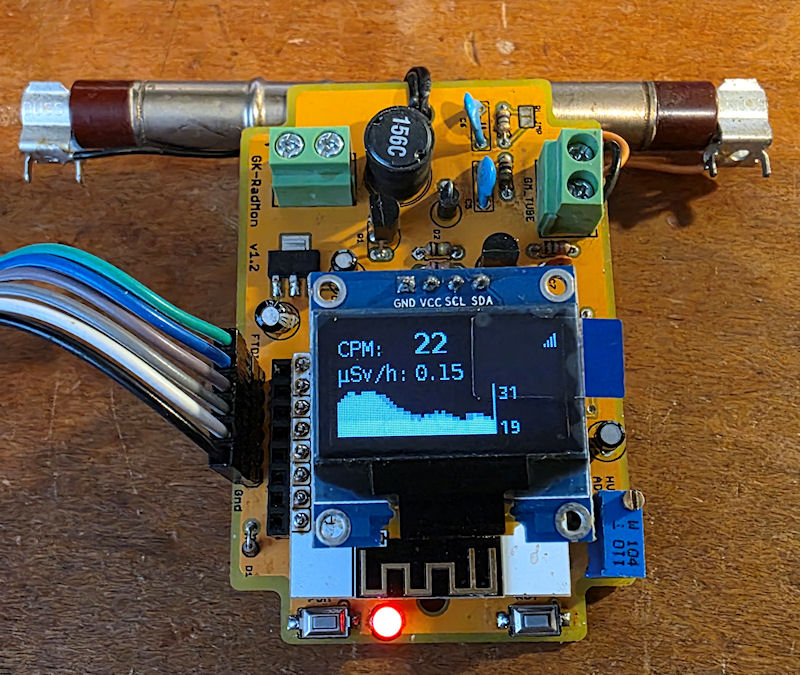
Please note that this mod is no longer necessary as the pins can be selected within the ESPGeiger firmware settings. A couple of days ago Steadramon released an updated version of his ESPGeiger firmware, which included a new webhook feature I had been patiently waiting for. This got me playing about with ESPGeiger again and the thought crossed my mind "can I get it to run on my GK Radmon?" I bought my GK Radmon kit about five years back. I didn't like the original firmware much. Not that it was bad, it just didn't suit the way I use my counters. The original firmware was written for very low
-
And now hold it at arm's length when using it. Around the time ChatGPT 4.0 came out, it started to become useful to me. Initially I was using it for looking for patterns in Gamma spectra, which it is very good for, when it worked. After a short time of using ChatGPT I found I was hitting limitations due to my free subscription so subscribed to the plus subscription. This lifted the limits and I was full on throwing data at it to analyse, graphing data, put a load of numbers in, get out a visual representation of them. All good stuff. I really quizzed the AI to find out how it works and after
-
The Chamber. I wasn't actually going to look into the chamber more, but a radmon.org user was curious, and curiosity got the better of me, so I dug into it - and I'm glad I did! Quite interesting. A little, but not actually quite as I expected. (I have added the high resolution images of this post to the download in the first post of the AEGTest Hound-3699 series.) Under the little metal cap on the underside of the chamber there are more discrete electronics and in the center a long gold plated pin that runs into the chamber. All the markings have been removed like the rest of the ICs. It
-
AEGTest Hound-3699 Radon Monitor Accessing the 'Admin' menu. The manual states: “Admin: Technician access only (Note: Do Not Click.)” Do not click? On something I bought? Something I own? Really? Give me a big red button that says 'do not press,' and I’m going to press it. If it’s locked behind a PIN code, I’m going to try and guess it. And you, AEG Test — you’ve just fuelled me with the absolute determination to click things, crack things, push buttons and tear them to pieces. That said — I still think this is a decent little unit. So everyone deserves access to the admin menu. If you follow
-
AEGTest Hound-3699 Radon Monitor Review & Teardown Many high resolution images of the teardown are here. I have been getting to know Radon quite a bit more of late. I manage a couple of sites at work and these are in Radon areas. I have used the Airthings Corentium and also fitted an Airthings View Radon 2989 in the basement of one of the sites. Monitoring is ongoing. I have also been experimenting with Radon a little too – discovering it’s progeny. I have also discovered that many (all?) of my U-238 sources also emit small amounts of Radon, local to their storage and I want to keep an